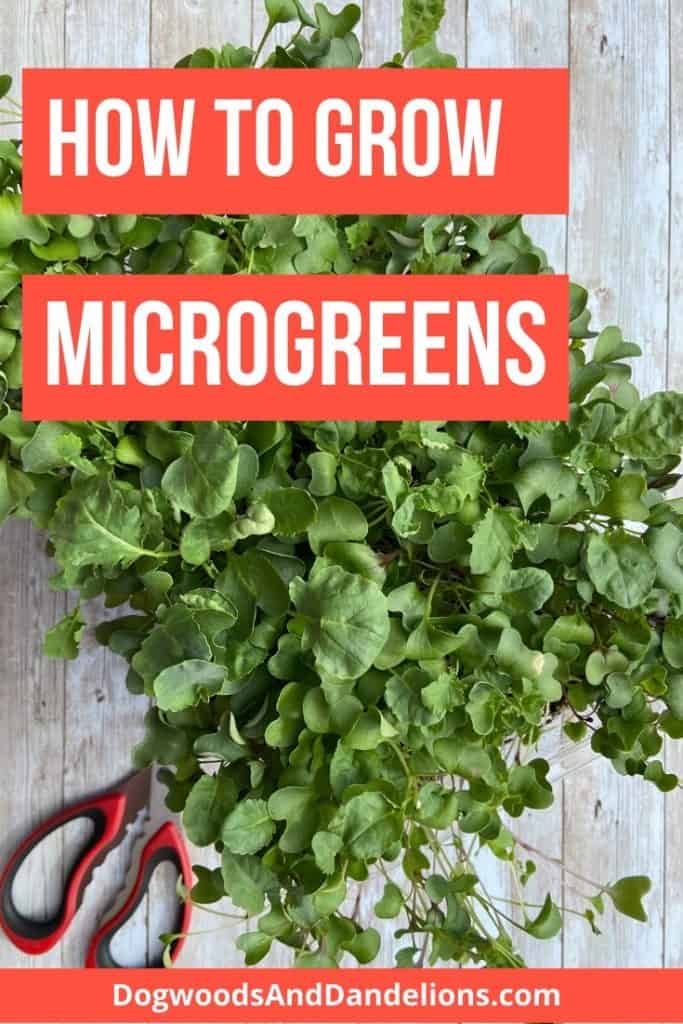
How to Grow Microgreens
Preview: Growing microgreens is a great way to get started gardening or provide some fresh produce for your family during the winter. This guide will explain how to grow microgreens in your own home.
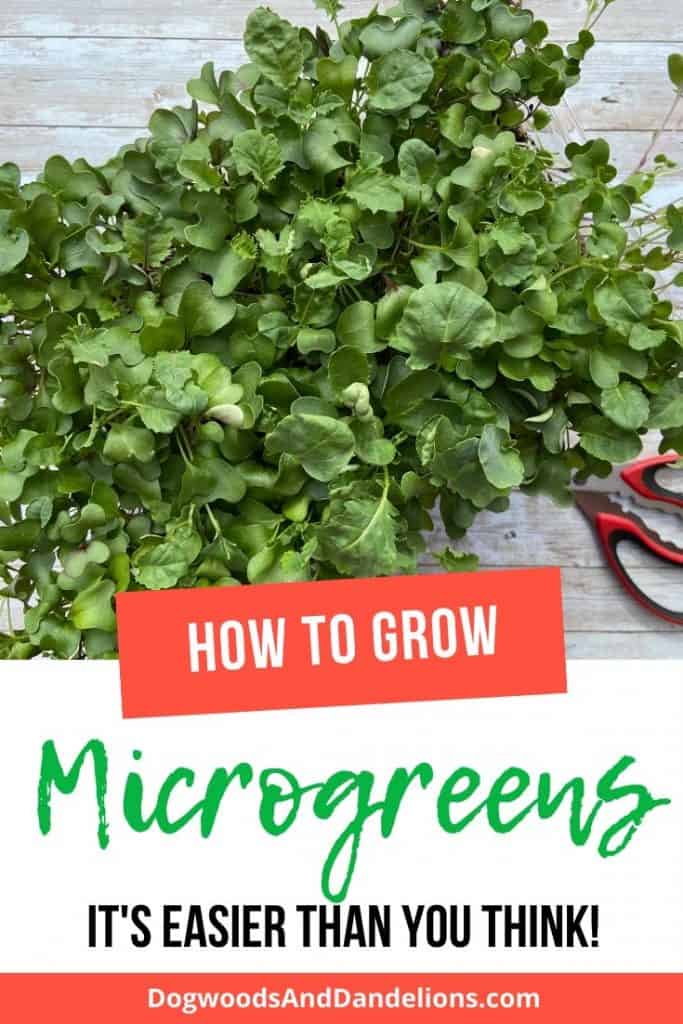
Are you longing for some fresh vegetables from your garden? Does it seem like spring is too far away? Did you know you can grow microgreens indoors all year long? I just grew my first batch and LOVED the whole process. Let me walk you through how to grow your own microgreens so you can enjoy some fresh, homegrown produce in as little as 2 weeks!
Affiliate Disclosure: Please note that some of the links in this article may be affiliate links and I may receive a small commission if you purchase something through a link. It will not change your cost. As an Amazon Associate, I earn from qualifying purchases. For more information, see my disclosures page.)
What Are Microgreens?
Basically, microgreens are the seedlings of any vegetable. However, some vegetables make better microgreens than others. (I share a list of some of the best plants to grow as microgreens later in this post.) According to True Leaf Market, microgreens “have an intense flavor and high nutritional value that exceeds that of sprouts and baby greens.”
How are microgreens different than sprouts?
Microgreens are a bit different than sprouts. Sprouts are grown in water whereas microgreens are generally grown in soil, though some places do sell hydroponic kits. Sprouts are usually harvested in 3-4 days and eaten root and all. However, microgreens are allowed to grow until the plants have 2-4 true leaves, usually about 2-3 weeks. They are harvested by cutting off the plants just above soil level. Only the tops and stems (not the roots) are eaten.
How to Grow Microgreens
Microgreens are a great option for apartment dwellers or anyone who doesn’t have much space to grow food. Microgreens are usually grown indoors so they can be grown year-round.
What you need to grow microgreens
When starting a new project like growing microgreens, it can be tempting to go all out and buy the whole kit. And if you’ve got the money in your budget, go for it. (Here are some wonderful kits.) These kits usually contain almost everything you need to grow one or several sets of microgreens.
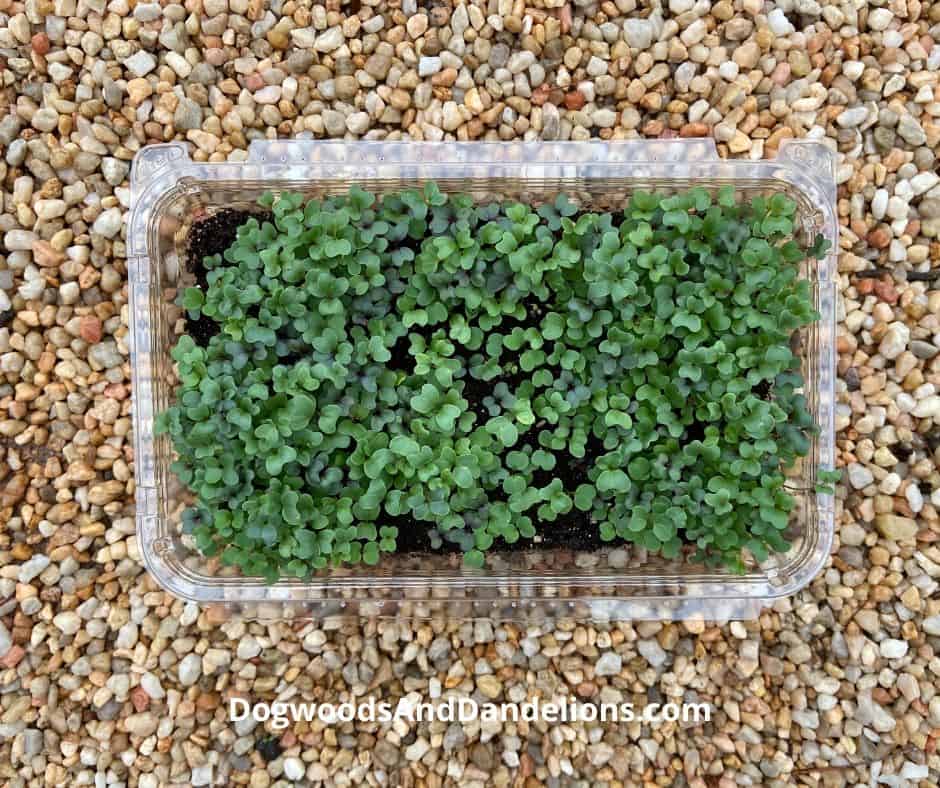
However, for those who prefer to save a bit of money, look around your house to see what you can find to grow your microgreens. My favorite “trays” to use are the plastic clamshell containers that lettuce comes in. I poke a few holes in the bottom with an ice pick and they work great. No matter what type of container you use, it should be at least 3 inches deep and have drainage holes. (Or a way to make your own drainage holes.)

You will also need something larger than the tray to hold the water. Microgreens need to be watered from the bottom so you will need a small tub or tray that will hold the container of soil that you are growing the greens in. (Again, I like to use items I already have so I just used an old baking pan.)
You need some kind of soil mix to grow the microgreens in. If you have some potting soil left over from other projects, you can use that or purchase a bag of seed starting mix.
One thing you will probably have to buy is seed. However, if you have some old seed from the plants listed above, you can always use those. Just remember to sow them thickly as germination rates will be lower.

I purchased my seed from True Leaf Market. I tried the basic salad mix and was very impressed with the quality and germination rate of their seed. The flavor of the microgreens was fantastic too! I will definitely be ordering more.
Unless you have a VERY sunny window that receives at least 8 hours of daylight, you WILL need a grow light. They used to be fairly expensive. However, they have come down in price recently. I just purchased this one and I used it to grow the microgreens shown in these pictures.
How to Plant Microgreens
Planting your microgreens is quite simple. Fill your container with damp seed starting mix or potting soil. You will want at least 2.5-3 inches of soil so the roots have room to grow. (Be sure the container has drainage holes in the bottom first!)
Sprinkle on the microgreen seeds. You will want to seed them fairly thickly. They won’t be in the container long enough to need lots of room. Cover the seeds lightly with another layer of fine soil starting mix. Place the container of seeds in the tray that will hold the water. Add a small amount of water to the tray.
Place the seeds in an indoor location where you can check on them daily. If the soil starts to dry out, water them from the bottom. The first few days, you can lightly mist the top of the container with water to help the seeds germinate. As soon as they start sprouting, stop misting with water.
Continue watering from the bottom as needed. Once the seeds sprout, you will need to place everything under the grow light.
After 2 weeks (or when the seedlings have 2-4 true leaves) you can start harvesting microgreens to eat. The easiest way to harvest the cute little plants is by cutting them off at soil level.
How to Maintain a Continuous Harvest of Microgreens
To maintain a continuous harvest of microgreens, plant 3 trays. But don’t plant them all at once. Start each tray one week apart, until you have planted all 3. By the time you plant the third tray, you should have microgreens ready to harvest from the first tray you planted.
After harvesting that tray, replant with more seed. If you keep following the harvest-replant cycle, you should be able to maintain a continuous harvest. If you decide you want your microgreens a bit bigger, add in a fourth tray.
You can even re-use the soil in the trays about three times before you need to replace it. When emptying the soil, be sure to compost it!
Best Vegetables to Grow as Microgreens

These are some of the best vegetables to grow as microgreens.
- arugula
- basil
- beets
- broccoli
- cabbage
- carrots
- cauliflower
- kale
- mustard greens
- nasturtium
- parsley
- peas
- popcorn
- radish
- spinach
- sunflowers
- Swiss chard
You can order many of these seeds individually from True Leaf Market or order a mix that contains many different varieties. Personally, I prefer the pre-made mixes as that is a super easy way to get variety in my diet. I tried the basic salad mix, but they also have many others to choose from.

How to Eat Microgreens
There are many ways to enjoy your microgreens. You can toss them in a salad, add them to a sandwich or top a soup with a few for a bit of a crunch. They are also delicious on top of a stir fry.
Just the other night, I topped a homemade pizza with a few microgreens once I removed it from the oven. This was a delicious addition to my pizza night.
Once you get started growing microgreens, you just might be hooked. Their fresh flavor and delicious crunch will be a welcome addition to almost any meal.
If you’ve grown microgreens before, I would love to know about your experience growing them and how you ate them. Drop me a comment below and tell me.