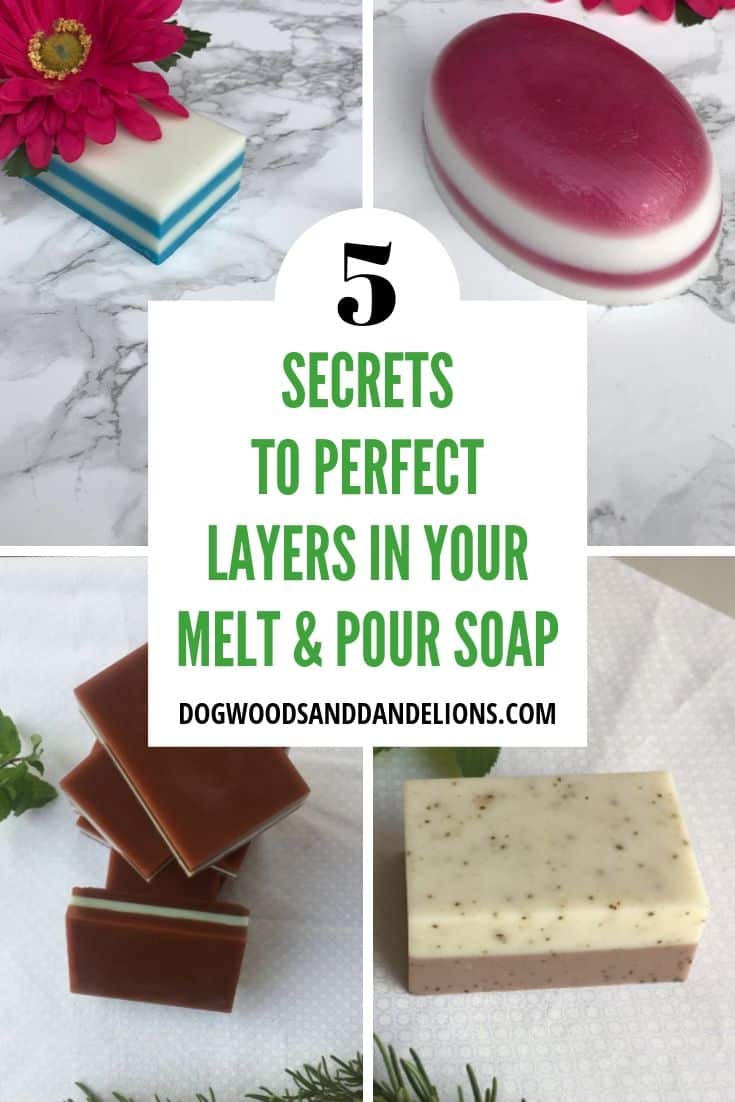
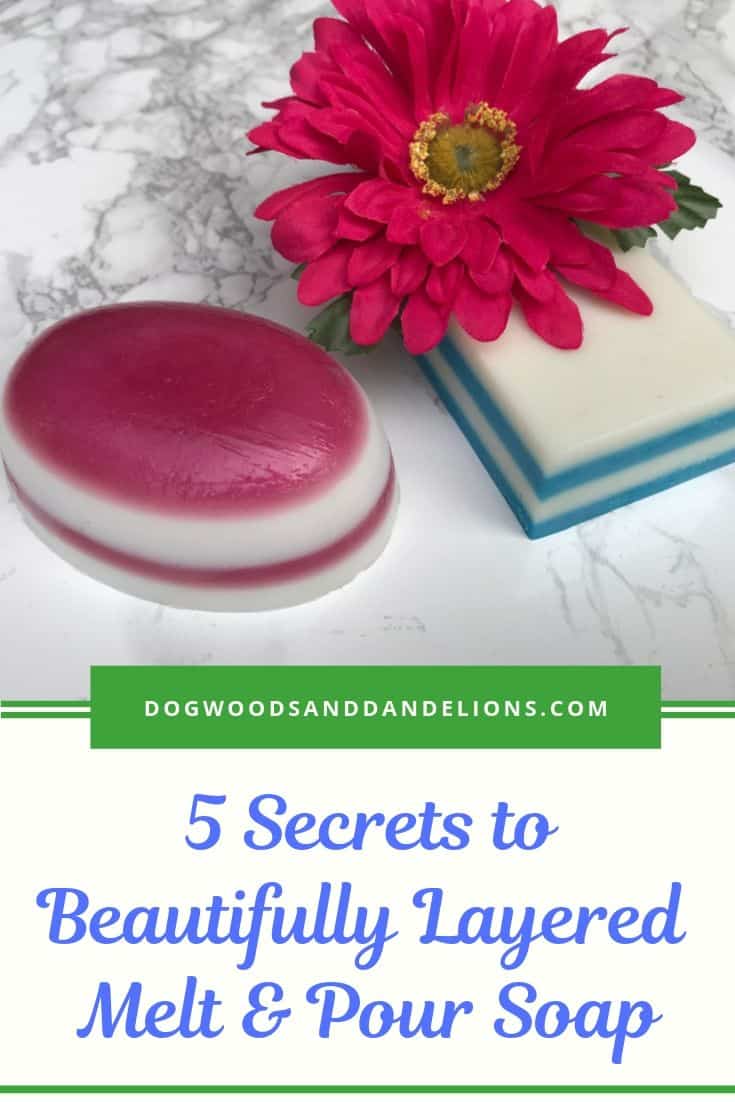
The Secrets to Layered Melt and Pour Soap
Inside: Layered melt and pour soap can separate if not done properly. This post shares how to make beautifully layered melt and pour soaps that actually stay together.
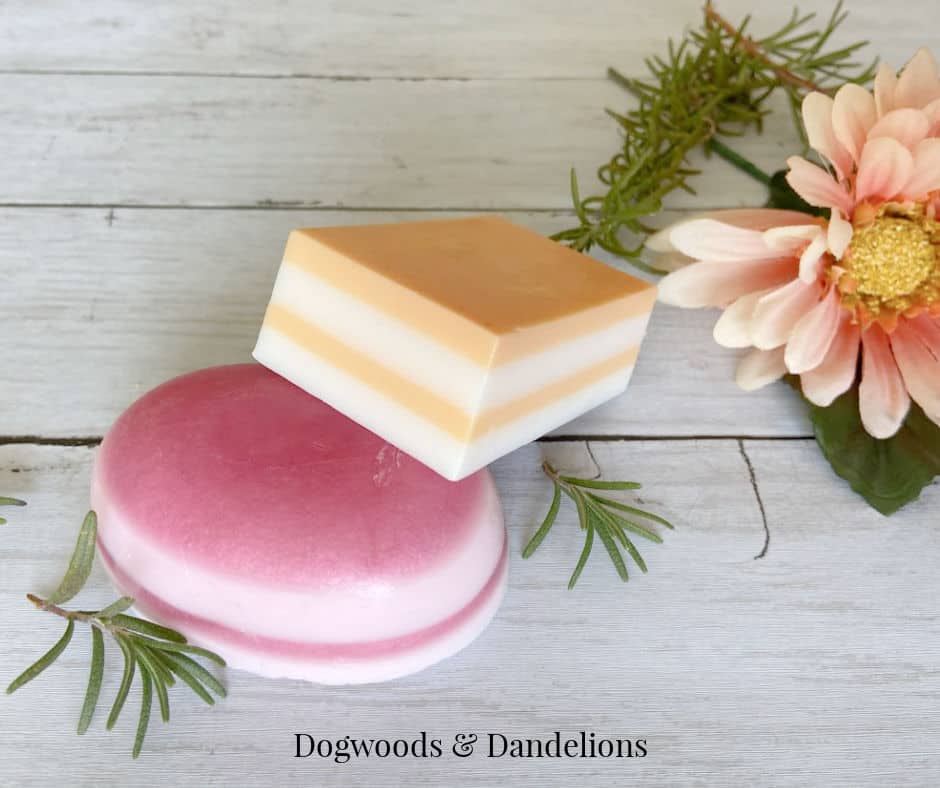
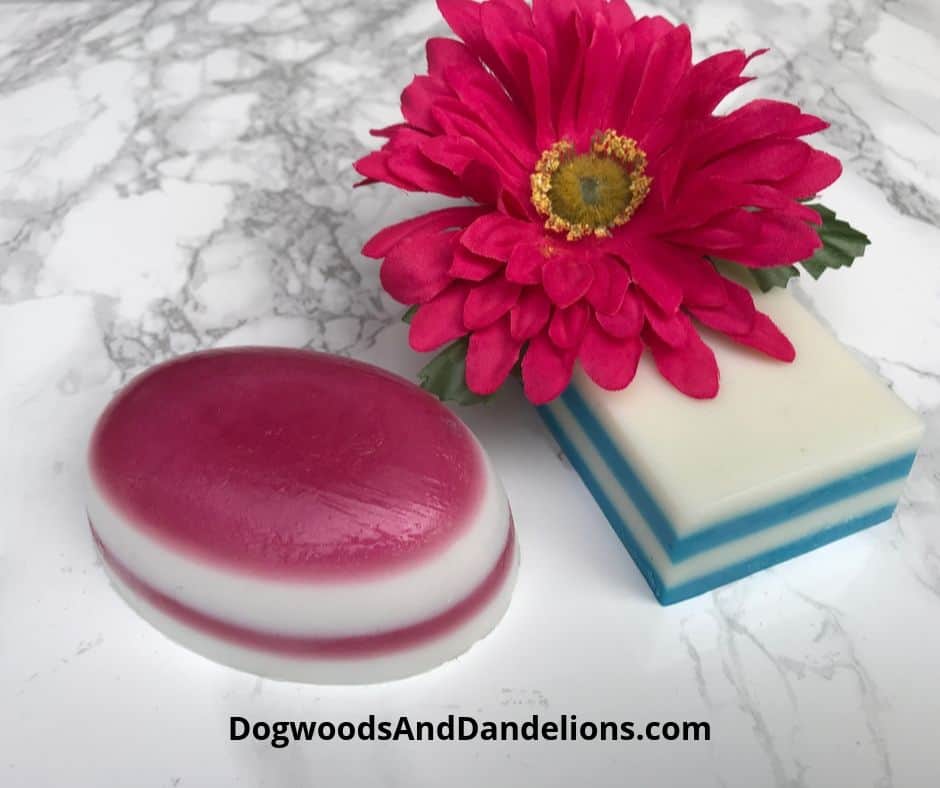
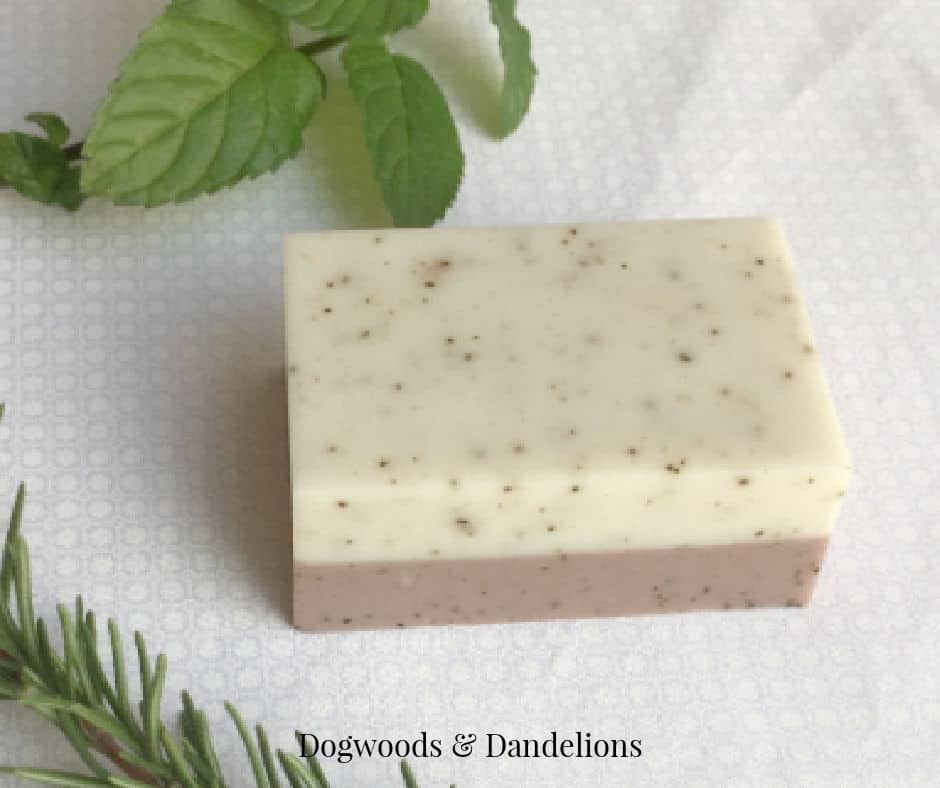
Layered melt and pour soap is so much fun to make. There are so many ways you can make the layers. A soap can be just two layers with one color on top and a different color on the bottom.
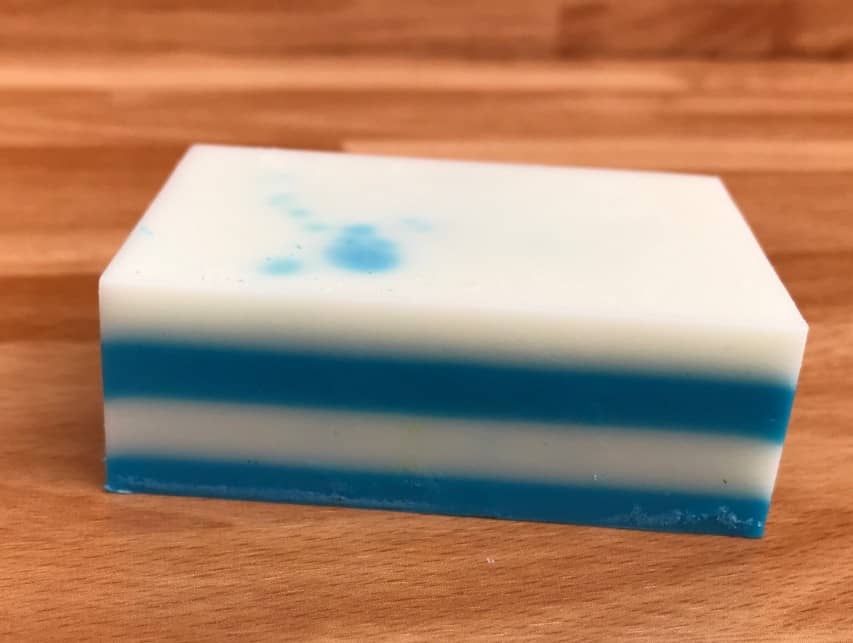
Or you can do many thin layers to achieve a totally different look. This is an easy way to get fancy soaps without having to buy many different molds.
By making your own soap, you can control the scent (fragrance or essential oils) and homemade soaps make wonderful gifts for almost any occasion. You can make red, white, and green layered soaps for Christmas, pink/white or blue/white for a baby shower, or a rainbow of pastel colors for Mother’s Day.
The sky is the limit with the color combinations you can come up with. (If you prefer something other than a layered soap, check out these other melt-and-pour soap tutorials: Coffee Exfoliating Soap and Lime and Cedarwood Soap.)
I love to give soaps in a gift basket of other DIY projects like lip balm and whipped body butter. Soaps make a very practical gift that doesn’t turn into clutter since it is consumable.
Affiliate Disclosure: Please note that some of the links in this article may be affiliate links and I may receive a small commission if you purchase something through a link. It will not change your cost. As an Amazon Associate, I earn from qualifying purchases. For more information, see my disclosures page.)
A Few Frequently Ask Questions About Making Melt and Pour Soap
Is Layered Soap Hard To Make?
No. It isn’t hard at all. Using more than one color in homemade soap will require a few extra dishes, but since we are making soap, cleanup is minimal.
What Tools Do I Need To Make Melt And Pour Soap?
I’ve shared a detailed list below of tools you need to make melt and pour soap but you probably have many things lying around the house that could be re-purposed for soap making.
You will need something to melt the soap in, something to stir the soap with, a knife or bench scrape to cut the soap into cubes, a small spray bottle, and a soap mold.
A thermometer is recommended as it helps to monitor the temperature of the soap, but it isn’t an absolute necessity, especially if you aren’t going for perfection.
How Do I Keep My Melt And Pour Soap Layers From Separating?
Separating is a common problem when making layered soap. The tips and tricks I’m sharing below will ensure your soap layers stick together.
How Do I Store Melt And Pour Soap?
Any melt-and-pour soap will sweat or bead up when exposed to moisture over time. The easiest way to prevent this is to store each bar individually wrapped in plastic wrap.
However, should your soap sweat, rest assured it is still perfectly safe to use.
Tools
As I mentioned above, you really don’t need many tools to make layered melt and pour soap. You may have most of these items already in your home.
2 Pyrex Measuring Cups
You need two 2 cup Pyrex measuring cups to melt the soap base. If you don’t have the measuring cups, glass bowls will do in a pinch. But whatever you choose, you really do need at least two.
If you want to do more than two colors for your layers, you will need the same number of bowls as colors. Otherwise, you’re going to spend a lot of time washing bowls and the colors of the layers may not be exactly the same.
Stainless Steel Spoons
A stainless steel spoon or spoons to stir the soap with. You can use some you already have or purchase a few inexpensively at a dollar store.
Again, if you have one for each color, it will save you time washing between colors.
Knife or Bench Scrape
You will need a knife or bench scraper to cut the soap with. Most likely, you have something at home that will work, as most soap bases are fairly soft.
Soap Molds
You definitely need a soap mold. Layered soap works much better in individual molds rather than a loaf mold.
Even with the best of care, layers can separate when cutting the soap if using a large mold. You can find many cute soap molds on Amazon, but even a simple rectangle bar mold allows the layers to shine.
Small Spray Bottle
A small spray bottle will be needed for the isopropyl alcohol. It can be glass or plastic.
You may even have something around your house, especially if you’ve bought those small travel kits as they often have a spray bottle in the package.
Infrared Thermometer
A thermometer is optional but very helpful to be sure your soap is at the correct temperature when pouring the next layer.
I have this infrared thermometer and love it. I’ve used it on many other things including the food in our refrigerator when it went out!
Ingredients for Layered Melt & Pour Soap
Melt & Pour Soap Base
Melt and pour soap base can be found on Amazon or in many other stores. It comes in many varieties like shea butter, goat’s milk, plain white, and clear.
If you want really bright colors for your layers, choose the clear. Most colors will look more pastel with the other varieties.
You can mix different kinds of melt and pour soap base if you desire. In the pictures, the pink and white soap is made from clear soap and goat’s milk soap.
Isopropyl Alcohol
You will also need to purchase isopropyl alcohol. This is one of the big secrets to getting melt and pour soap layers to stick.
The higher the alcohol percentage, the better. The one I linked to is 99% alcohol but 70% will work.
Soap Colorant
Obviously, if you want different color layers, you will need some type of soap colorant. There are so many types to choose from and they can be liquid or powder.
If this is your first foray into soap making, I highly recommend the liquid colorant. The powdered colorants need to be mixed with a small amount of glycerin first so the colorant will disperse evenly throughout the soap mixture. But you usually do have more choices in the powdered ones.
Essential Oils or Fragrance Oils
And while fragrance or essential oils are optional, this is one of the reasons people make their own soap. I prefer essential oils, Plant Therapy being my favorite brand, but there are many fragrance options out there as well. (Plant Therapy also offers free shipping on any size order.)
You can get my free printable with over 30 essential oil blends by signing up for my weekly newsletter. These blends were designed to be used in a diffuser, but you can easily multiply the number of drops to use them in soap recipes.
How to Make Layered Melt and Pour Soap
If you have never made homemade soap before, you might want to read through this tutorial on how to use melt-and-pour soap base. It is very detailed and explains the steps thoroughly.
Always use extreme caution when making homemade soap. The melted soap can burn you so this isn’t a project to do with young children.
If you prefer a printed copy of this process, you can get one at the bottom of this post.
First, assemble all your supplies. One pound of soap base will make approximately 4 bars of soap, depending on the size of the mold.
These directions are based on using one pound at a time. You will need to adjust the amount of time in the microwave if you are using more or less soap base.
Cut the soap into approximately 1/2-inch cubes. Divide the soap among your Pyrex measuring cups or glass bowls.
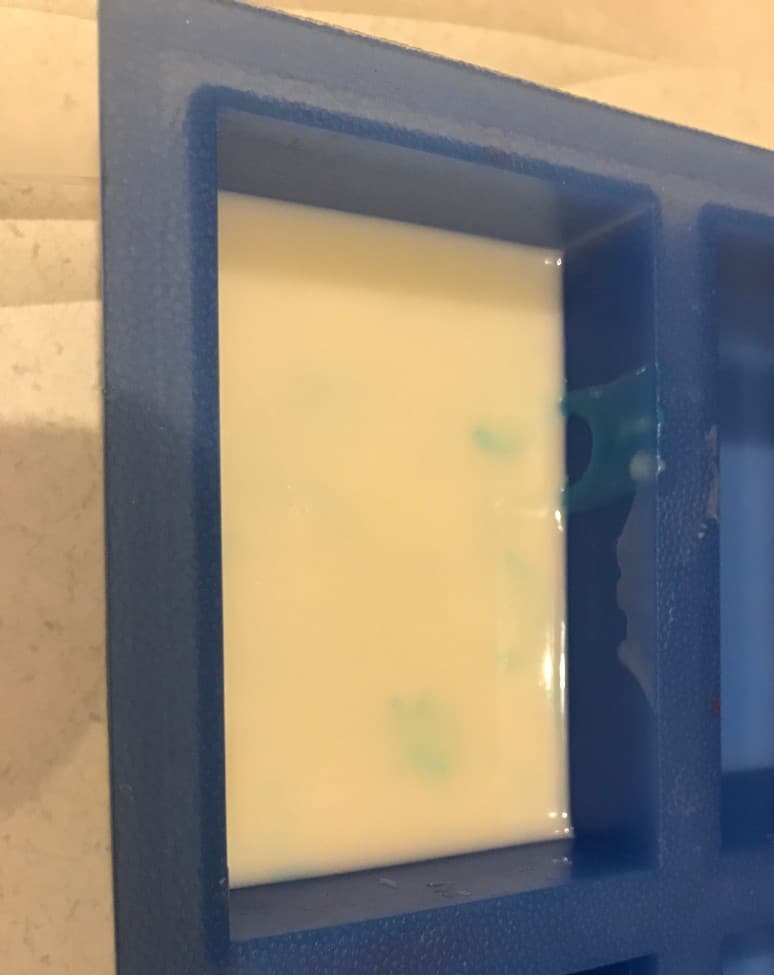
For the first layer, microwave the bowl of soap for 30 seconds. Watch the soap base carefully to be sure it does not overheat. If it starts to rise in the bowl, stop the microwave.
Stir. Continue to microwave the soap in 10-15 second intervals until almost melted. Stir to finish melting the soap.
Add a few drops of colorant to the bowl and a few drops of fragrance oil or essential oils. Stir well.
Pour into the soap mold. Immediately spray a quick spritz of isopropyl alcohol on the soap to remove any bubbles. Allow the soap to cool a bit.
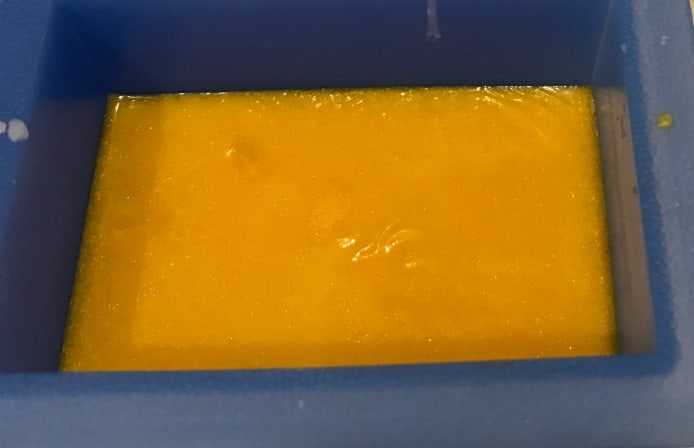
While this layer is cooling, repeat the procedure for the second layer. However, do not pour the second layer on top of the first layer until a skin has formed on the soap.
Once a skin has formed on the soap in the mold, check the temperature of the melted soap for the second layer using your infrared thermometer.
The soap should be between 130 and 140 degrees. If it is too cool, briefly microwave in 10-second intervals to heat it back up.
A quick note – Many sources I found say to let the soap cool to 120-125. By the time my soap had cooled to this temperature, it was already solidifying enough that I couldn’t pour it. I found between 130 and 140 degrees to be ideal.
Just before pouring the second layer, spray the soap in the mold again with isopropyl alcohol. This (plus the correct temperature) is the secret to making melt-and-pour soap layers that don’t separate.
Once the soap has a light coating of alcohol, immediately pour the next layer.
Keep repeating this process until you have poured as many layers as you desire. Don’t let the layers in the mold get too cool before pouring the next layer or you may still have some separation.
The key is letting the skin develop, but the soap in the mold should still be warm.
The hardest part of this whole process is getting your timing down. You want the previous layer cool, but not too cool, and you want the soap for the next layer at about 130-140 degrees so you don’t melt the layer beneath.
Allow the soap to cool completely before attempting to remove the soap from the molds. I like to wait at least 4 hours. This may seem excessive, but it ensures the soap is totally cool.
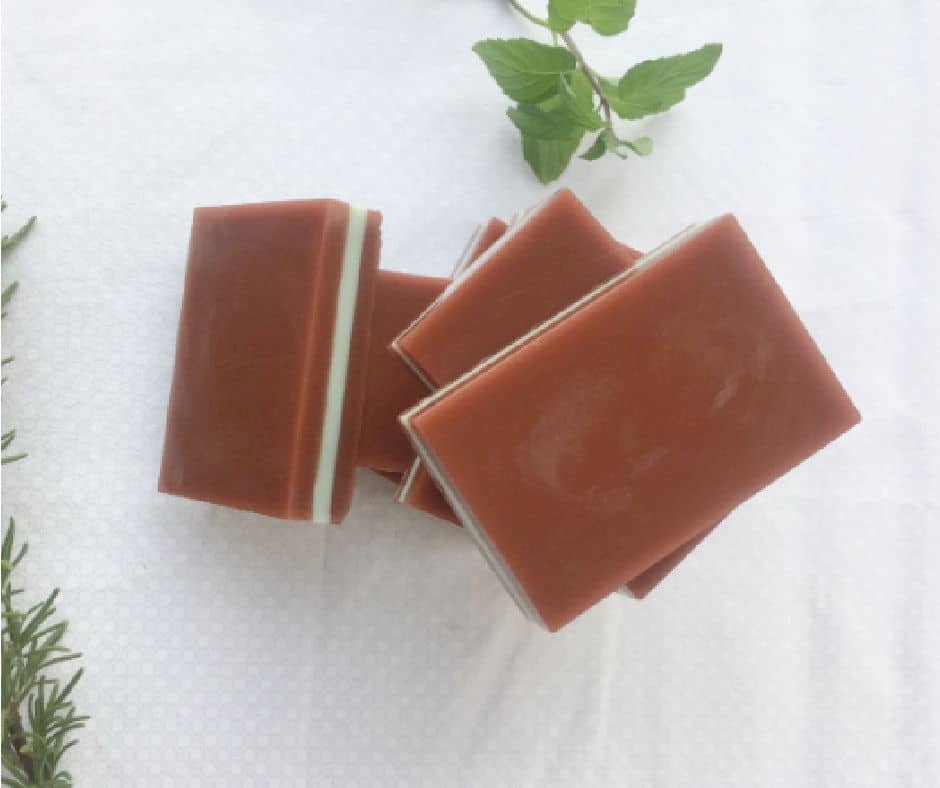
5 Secrets to Layered Melt and Pour Soap
So the 5 main secrets to making layered melt and pour soap that doesn’t separate is to:
- Use individual soap molds, not a loaf mold.
- Let each layer develop a skin before pouring the next layer.
- Spritz each layer with isopropyl alcohol just before pouring the next layer.
- Be sure the melted soap is between 130 and 140 degrees before pouring.
- Allow the soap to cool completely (4 hours minimum) before removing from the mold.
By following the above “secrets” I’ve made many successful layered soaps. For a while, I even sold them in an Etsy shop.
Once you master the technique of pouring the layers, the sky’s the limit for the possible color creations you can come up with.
Have you ever made layered soap before? After this tutorial, do you think it’s something you would try? If you have any questions, feel free to leave a comment. Your questions may help someone else too.
Related Posts
- How to make coffee exfoliating soap
- Step-by-step directions on how to use melt & pour soap base
- Easy do-it-yourself foaming hand soap
- Homemade Soap Gifts

Meet Julie
I’m a farm girl born and bred in North Carolina. I’ve been growing a vegetable garden for over 20 years (and helping my Mom grow hers even longer). I’ve been raising chickens in my bathtub and backyard for 12+ years. I believe that homegrown food can be made simple. Let’s get started.
Layered Melt & Pour Soap
Ingredients
- melt & pour soap base
- isopropyl alcohol
- soap colorant
- essential oils or fragrance oils, optional
Instructions
- Cut the soap into approximately 1/2 inch cubes. Divide the soap among your Pyrex measuring cups or glass bowls.
- For the first layer, microwave the bowl of soap for 30 seconds. Watch the soap base carefully to be sure it does not overheat. If it starts to rise in the bowl, stop the microwave.
- Stir. Continue to microwave the soap in 10-15 second intervals until almost melted. Stir to finish melting the soap.
- Add a few drops of colorant to the bowl and a few drops of fragrance. Stir well. Pour into the soap mold.
- Immediately spray a quick spritz of isopropyl alcohol on the soap to remove any bubbles. Allow the soap to cool a bit.
- While this layer is cooling, repeat the procedure for the second layer. However, do not pour the second layer on top of the first layer until a skin has formed on the soap.
- Once a skin has formed on the soap in the mold, check the temperature of the melted soap for the second layer. It should be between 130 and 140 degrees. If it is too cool, briefly microwave in 10 second intervals to heat it back up.
- Just before pouring the second layer, spray the soap in the mold again with isopropyl alcohol. This (plus the correct temperature) is the secret to making melt and pour soap layers that don’t separate. Once the soap has a light coating of alcohol, immediately pour the next layer.
- Keep repeating this process until you have poured as many layers as you desire. Don’t let the layers in the mold get too cool before pouring the next layer or you may still have some separation. The key is letting the skin develop, but the soap in the mold should still be warm.
- Allow the soap to cool completely before attempting to remove the soap from the molds. I wait at least 4 hours. This may seem excessive, but it ensures the soap is totally cool.
After looking at ingredients in melt & pour soap I found that using Our Earth’s Secret goats milk soap base doesn’t have sls and other nasties in their soap and it has a very good lather and can be purchased on Amazon.
Thank you for that suggestion. I will definitely look that brand up.
Sorry, 1 other comment:
I don’t use microwaves. Any other options?
I’ll try to answer all 3 of your questions here. Melt and pour soap is different than cold process soap, but it is much easier (and safer) for a beginning soap maker to use since you aren’t messing with lye. I have found that melt and pour soaps don’t last as long as cold or hot process soap does.
Many melt and pour soap bases do contain SLS so it is important to read the ingredients carefully to be sure you find a base you are comfortable using. I prefer the SFIC brand as it is a more natural product than many others, but it has been a while since I last purchased it, so of course the formulation may have changed.
If you don’t use a microwave, you can always melt the soap base in a double boiler.
Is a melt and pour soap as good for you as cold/hot process soaps? Are there any differences in the quality?
Can you mix different types of soap base? Like one layer aloe and one layer and shea butter ect..?
Yes, you can definitely mix different varieties of soap base. They may not stick together quite as well, however, I’ve never had any trouble with the layers separating as long as I followed the tips in this post.
Thank you for this! I am trying to get my nerve up to do this. Why am I so scared??😳
Just give it a try. It’s so much fun. And if you do mess it up, you can still use the soap yourself. It really isn’t very difficult though. Have fun with it and enjoy the process.
I have found putting about a table spoon of vitamin E oil helps with the lather.
Ohh! This is such a great tip. I can’t wait to try it. Thanks for sharing.
I love melt and pour soap. But found it doesn’t lather as good. Am I doing something wrong
I don’t think you are doing anything wrong. I just don’t think most melt & pour soap brands do lather quite as well as cold process soaps. You can try a few different brands to see if it makes a difference in the lather. My favorite brand is SFIC. However, it is a more natural brand and doesn’t lather as well. You might want to look for a brand that contains more Sodium Lauryl Sulfate (SLS). That should help it lather a bit better.
@ Julie B: SLS is very bad for the body and the environment! Do soap melt and pour bases contain this as a rule???
I use castor oil in my soap and they lather very well. I use about 1 teaspoon per pound of soap base.
That sounds like a great addition to your homemade soap. Thanks for sharing!