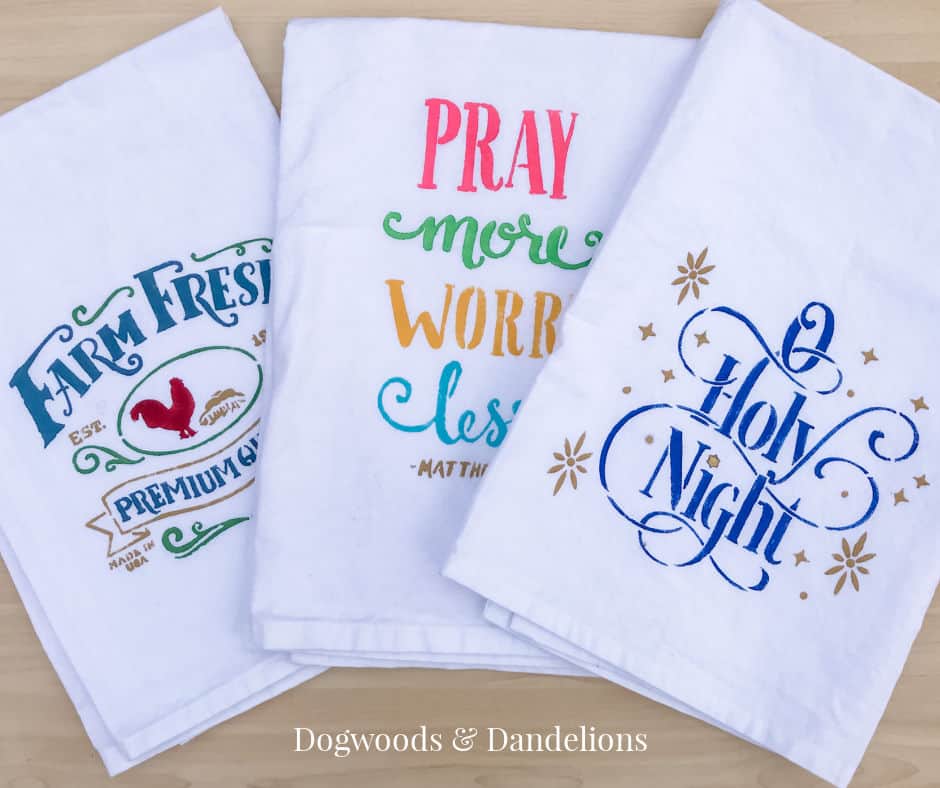
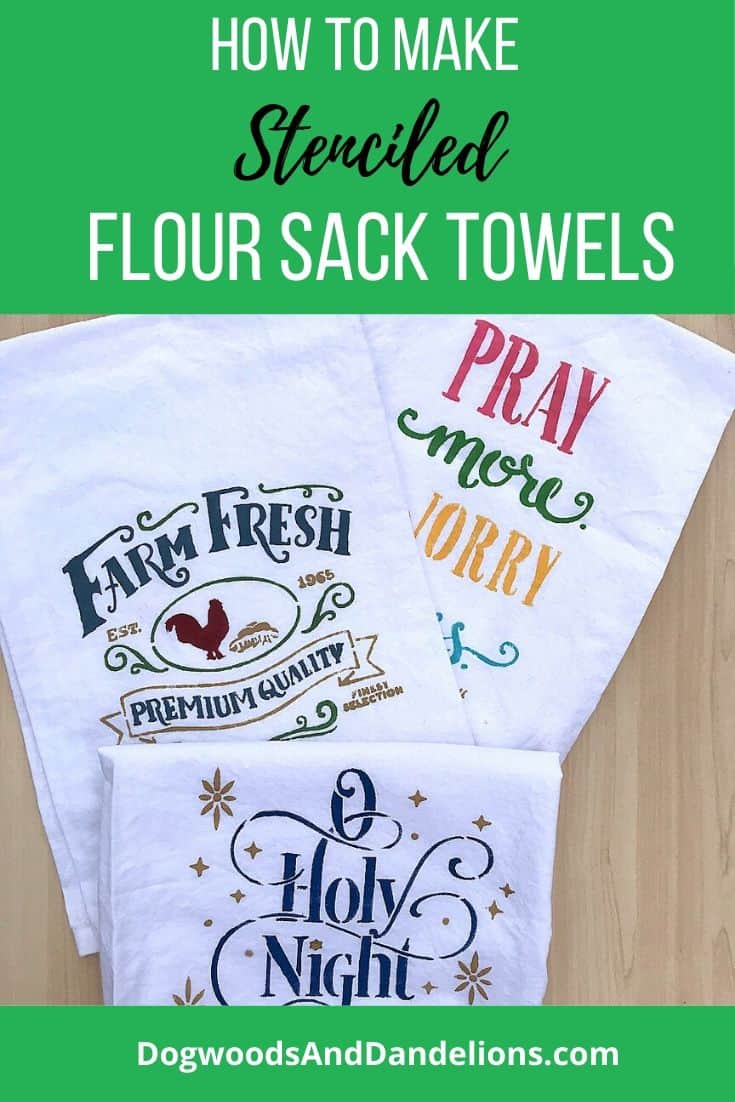
Stenciled Flour Sack Dish Towels
If you love giving homemade gifts, stenciled flour sack dish towels are a practical gift for anyone who has a kitchen. These easy DIY dish towels, also called tea towels, are fun to make and can be customized to fit the recipient.
If you are artistic, you could also freehand the design for a unique, one-of-a-kind tea towel. But for those of us who can’t draw stick figures properly, stencils are definitely the way to go.
Affiliate Disclosure: Please note that some of the links in this article may be affiliate links and I may receive a small commission if you purchase something through a link. It will not change your cost. As an Amazon Associate, I earn from qualifying purchases. For more information, see my disclosures page.)
Supplies to Make Your Own Stenciled Flour Sack Dish Towels
You don’t need lots of supplies to make these handmade kitchen towels. You can order most from Amazon or find them at your local craft store.
- Stencil brushes, foam brushes, or sponges
- Flour sack dish towels
- Stencils-Amazon has so many cute Christmas stencils to choose from. And I love these wildflower ones.
- Stencil adhesive
- acrylic paint
- textile medium
- something to put the paint on (I use a paper plate.)
- paper towels
- a piece of cardboard
Instructions for Making a Stenciled Flour Sack Dish Towel
Prepare the Towel
Wash, dry, and iron the flour sack towels. Find the center of the towel and mark it with a straight pin or a disappearing ink pen. (I personally love the disappearing ink pens for any sewing project.)
Mentally divide the towel into thirds. If necessary, you can iron creases into the towel to divide it into thirds. You will want to put the design on the lower part of the center third of the tea towel.
Lay the towel on the cardboard, making sure that no part of the towel is underneath the portion you wish to stencil on.
Since I was doing several towels, I also placed a paper towel underneath the tea towel to absorb any excess paint. It will bleed through some since most flour sack towels are thin.
Prepare the Stencil
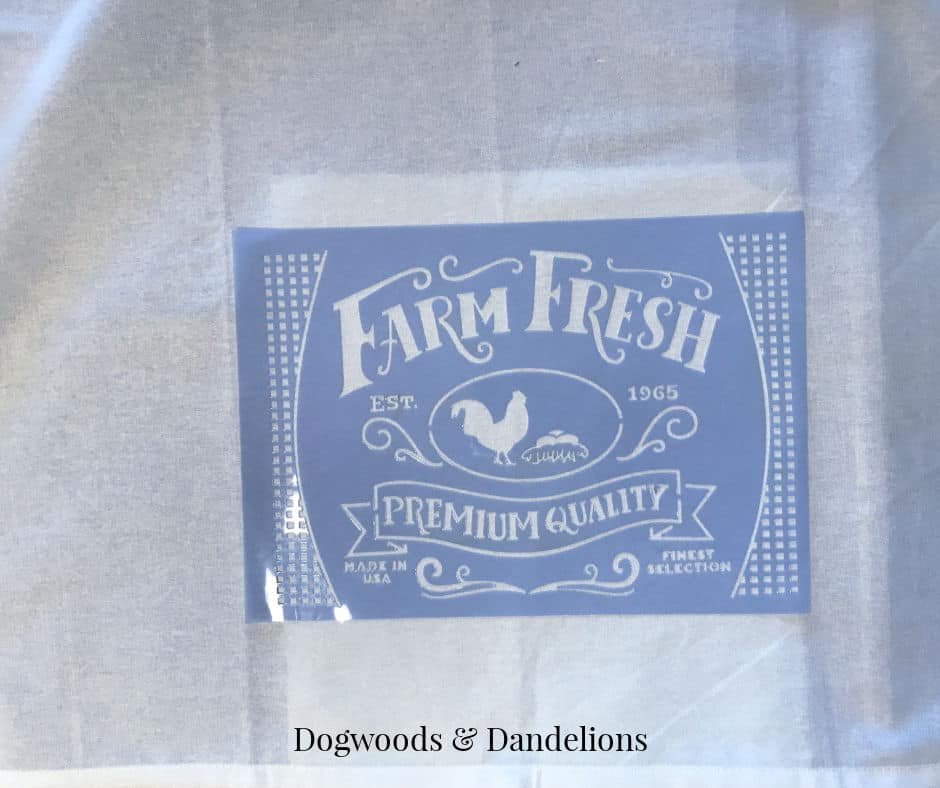
If there is any part of the stencil you don’t want to use, cover it with masking tape. In the fresh eggs design, I covered the two end portions that I didn’t want in my design.
Spray the backside of the stencil with stencil adhesive. You might get away with just taping the stencil down, but if there are any intricate designs, (like the fresh eggs towel) the paint will likely bleed through unless you use the adhesive.
This project was the first time I had ever used it, and I think it was totally worth the cost.
Center the stencil in the lower half of the towel, on the center third, using the halfway mark as your guide. Press the stencil down well so that you don’t get paint bleeding underneath the stencil.
Let’s Paint Our Towel
Choose your colors of acrylic craft paint and mix each color with the appropriate amount of textile medium. (Follow the directions on the back of the container for the correct ratios.)
I had two different brands and both said to use 1 part textile medium to 2 parts paint. You can do this in little containers or just mix them together right on the paper plate.
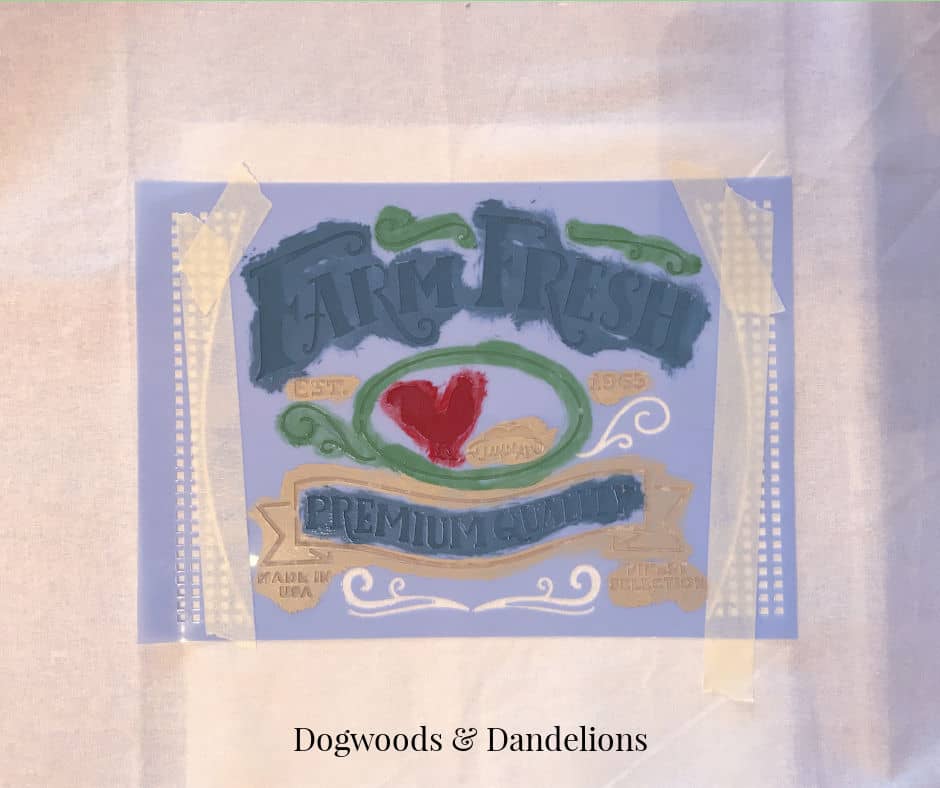
Dip your stencil brush or sponge and dab most of the paint off onto a paper towel. You only want a little paint on the brush. Gently blot the paint onto the open areas of the stencil, using your desired colors where you would like.
Go slow so you don’t paint an area pink that you were supposed to paint green.
Wash your brush between paint colors. You can also purchase brush cleaner to help if necessary, but usually, if you wash the brush while the paint is still wet, all the paint will come out easily.
Paint the entire design before removing the stencil.
Once you are finished painting, gently remove the stencil. Be careful that you don’t smear the wet paint. If parts of the stencil don’t want to come off easily, slide your hand under the towel and press up on the stencil from underneath.
Finishing Your Painted Tea Towel
Allow the flour sack towel to dry completely, usually about an hour or so.
Depending on the brand of textile medium (sometimes called fabric medium) you use, you may need to iron the painted design after allowing it to dry for 24 hours. This sets the design so it doesn’t wash out of the material.
To iron the stenciled flour sack towel, place the painted towel on an ironing board and heat the iron to high. Cover the design with a pressing cloth. (An extra flour sack towel works great as a pressing cloth.)
Press the iron onto the cloth for 30 seconds, keeping the iron moving constantly. After the 30 seconds are up, remove the towel, and it should be ready to use, though its a good idea to re-wash the stenciled tea towels before using.
Clean Up
While the paint is still wet, clean the brushes under running water. If that doesn’t remove all the paint, you can purchase brush cleaner to help.
A Few Notes on Making Hand-Painted Flour Sack Kitchen Towels
Before You Start
If this is your first time working with stencils and paint or you are trying this project with children, choose a stencil with a simple design and only one or two color changes.
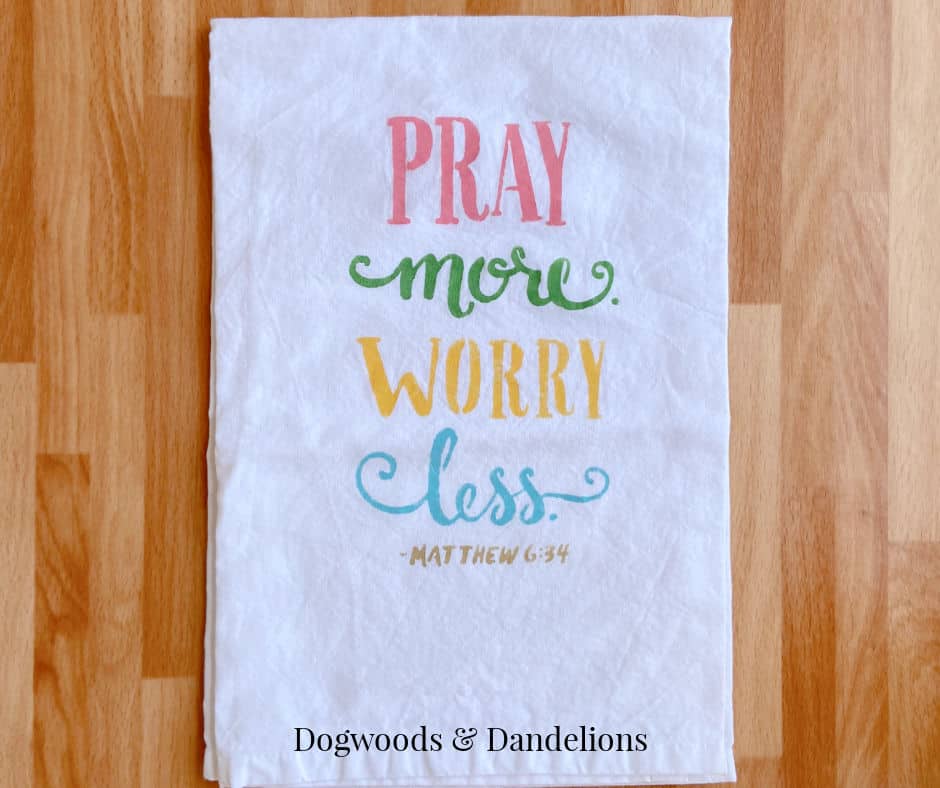
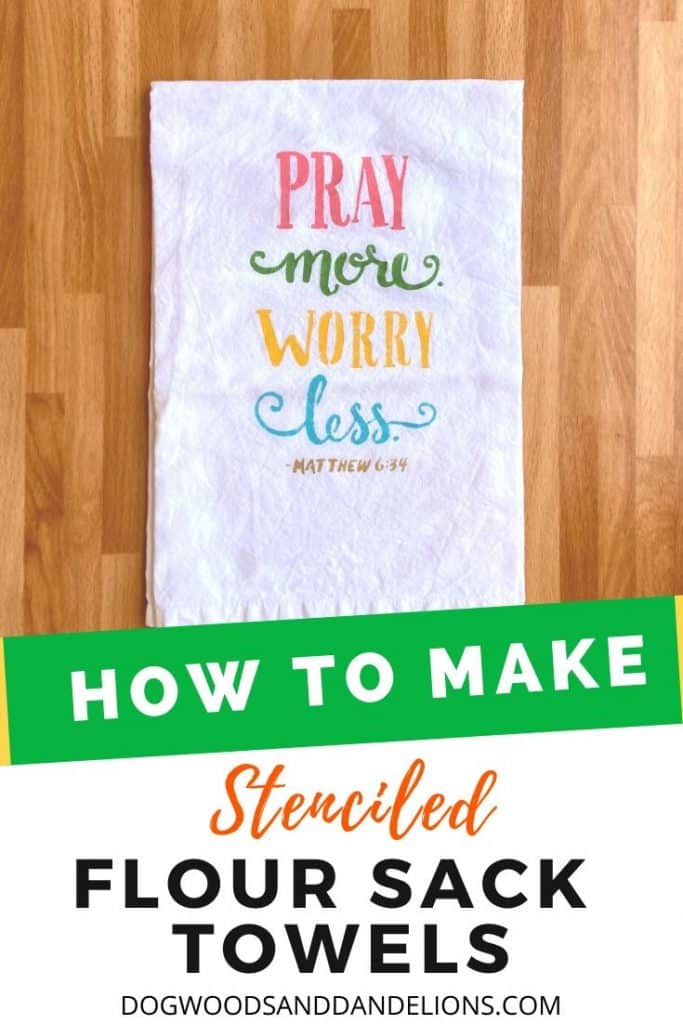
The “Pray more” design was quite simple and could be done in a single color if desired.
The flower design and the fresh eggs design were much more difficult. The smaller the stencil parts and the more intricate the design, the longer it will take you to complete each towel.
Be sure your stencil isn’t too large. If it is too big, a portion of the design will be hidden when the towel is folded.
Check your stencil well to be sure the design has been completely punched out. I had already started painting when I realized that a few small portions of the flower design were not completely punched out.
I had to gently lift the stencil partway and punch it out with a toothpick before pressing it back down.
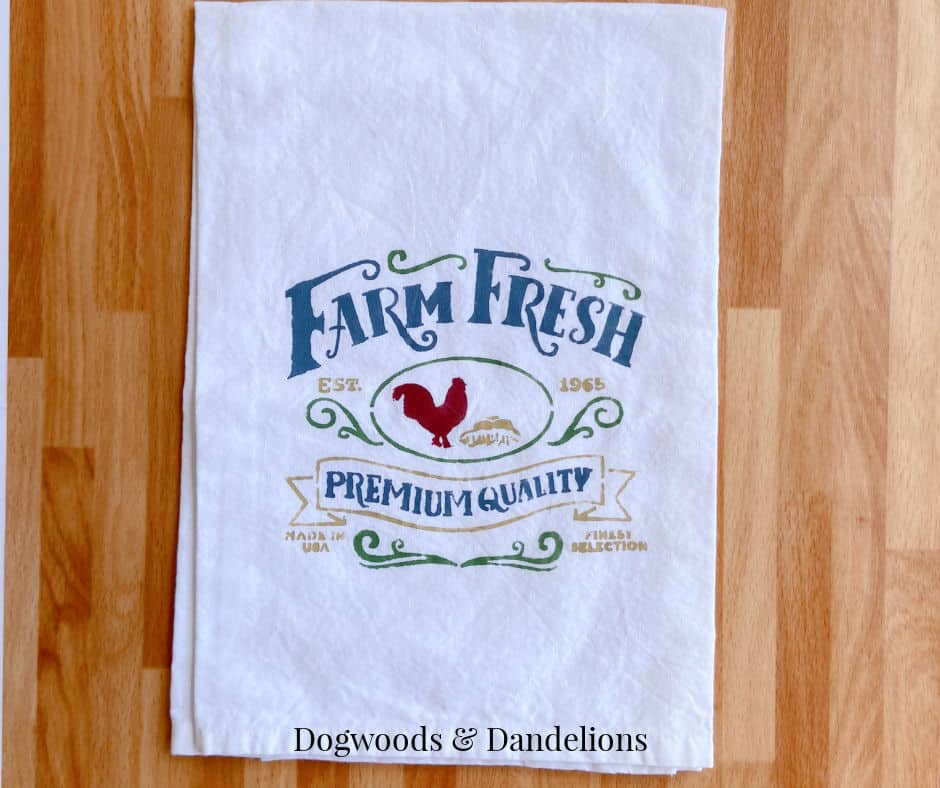
If you want your design to be completely painted, use a sponge. You can more accurately get paint to cover the entire area. If you are going for a more rustic look like in my fresh eggs design, a stencil brush makes it easier to achieve that look.
Wear old clothes. Since we are using textile medium intended to help the paint stick to our towels, it will also stick to our clothes. Most likely, it won’t come out.
Keep in Mind…
Mistakes are part of the charm of a craft like this.
You will see that on the fresh eggs sign, I didn’t get the paint to completely cover the stencil openings in several places. That’s ok. I actually think it gives handmade items a unique look.
You can choose to do a Christmas design or something that could be used year-round. I am in love with the cute Christmas designs from Stencil Revolution.
I ordered one for myself, but unfortunately, it hadn’t arrived when I did this project.
Ways to Gift a Stenciled Flour Sack Towels
These painted tea towels make lovely gifts all by themselves. They would also be very welcome in a kitchen gift basket or tied up neatly with a couple of wooden spoons.
You can also wrap these diy flour sack towels around my one-hour yeast rolls, a loaf of homemade bread, or a batch of cinnamon or orange rolls. Not only will the recipient be happy to receive a baked good, but they also get to keep the wrapping paper (the kitchen towel.)
Related Posts
- How to Make Mason Jar Covers just like Grandma used to make.
- Using Melt & Pour Soap Base to make homemade soap for gifts.
- Homemade Room Spray using essential oils.
These look really interesting!
The stencils and Christmas stencils links BOTH go to Christmas stencils. Could you give a link for “normal” stencils? Thanks.
What size would you suggest for the stencil, so it isn’t too large, given the towels you linked to?
Looking forward to trying this!!!
I have updated the first link to include lots of stencils besides just Christmas ones.
I would use a stencil design no larger than 7 or 8 inches so that the entire design can be seen when the towel is folded in thirds.